
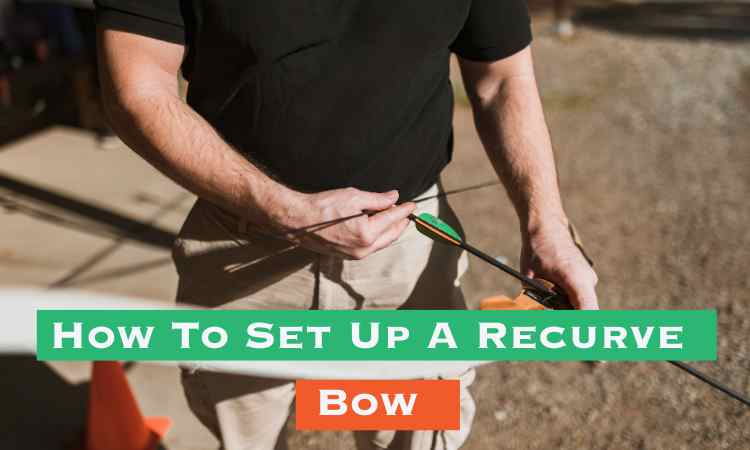
Are you ready to unleash the archer within you and hit the bullseye with precision? Setting up a recurve bow is the crucial first step to embarking on an exhilarating journey into the world of archery. But here is a basic way to do that-
To set up a recurve bow, start by standing with your feet shoulder-width apart. Next, attach the limbs to the slots on the riser, making sure they fit snugly. Loop the top of the string over the upper limb and secure the bottom loop into the groove on the lower limb.
Use a stringer to attach the string properly, making it tight and secure. Afterward, pull the string back slightly, about 2 to 3 inches, to ensure it’s in the right position. Check that both the top and bottom strings are securely in their respective notches.
Adjust the bow so that the string is aligned down the middle of the belly of the limbs. Finally, set the nocking point at a height between seven and a half and eight and a half inches.
Whether you’re a seasoned archer seeking to fine-tune your equipment or a beginner ready to take aim for the very first time, this comprehensive guide will equip you with the knowledge and techniques to set up your recurve bow like a pro.
Prepare to dive into the realm of bowstring tension, arrow rest alignment, and brace height precision, as we unravel the secrets that will elevate your shooting experience to new heights.
Get ready to unlock your potential and let your arrows fly with unrivaled accuracy and power. The time for hesitation is over—let’s dive into the realm of recurve bow setup and unleash your inner archer.
Is Brace Height Important?
Absolutely. Brace height is a key part of bow care. It’s the space between the loose bowstring and the deepest part of the grip (riser).
Keeping your brace height consistent is crucial because it affects where your arrow hits the target. Over time, as you string and unstring your recurve bow or if the string stretches, the brace height can change.
To adjust the brace height, you’ll need a bow stringer and a bow square. First, string your bow and then measure the brace height using the bow square at the grip’s deepest point.
Next, if you need to change the brace height, you can add or remove twists from the string. Adding twists raises the height, and removing twists lowers it.
After adjusting, restring the bow and check the brace height again. You might need to do this a few times to get it just right. Remember, it takes patience.
You can also have someone stand nearby to tell you when the bow is quietest while shooting since it can be tricky to tell when you’re close to the string.
Read More: Why Does It Require Adjustments in Recurve Bow? [ Brace Height Calculator]
How To Set Up A Recurve Bow? (With Details Steps)
Step 1: Gather the necessary equipment
Before we get started, let’s make sure we have everything we need to set up your recurve bow.
You’ll need a few important items, like your recurve bow itself, a bowstring, a special tool called a bow stringer, an arrow rest, some nocking points, a set of Allen wrenches (those are the tools with hexagon-shaped ends), some bowstring wax, and if you like, an arrow quiver to hold your arrows.
Having all these things ready will make the setup process easier and smoother.
Step 2: Stringing the bow
Now, it’s time to put the string on your bow. First, attach one end of the string to the top part of the bow. This is usually called the top limb. Then, grab your bow stringer, which is a helpful tool that makes this step safe and easy.
With the bow stringer, you’ll gently bend the bow’s limbs, which are the curved parts of the bow. As you do that, you’ll slide the other end of the string onto the bottom limb.
Make sure the string fits snugly on both limbs. Doing this correctly is super important because it keeps you safe and ensures your bow works well.
Step 3: Checking the bow’s brace height
Now, let’s talk about something called “brace height.” Brace height is the space between the string and the grip of your bow. To measure it, you’ll use a tool called a bow square.
If the brace height isn’t just right, you can adjust it by twisting the string a little.
The instructions that came with your bow will tell you the recommended brace height for your specific bow model.
Getting this right is important because it helps your arrows fly straight and your bow perform at its best.
Step 4: Mounting the arrow rest
Next, we’re going to attach the arrow rest to your bow. The placement of the arrow rest depends on how you like to shoot. There are different styles of arrow rests, like the plunger or shoot-off rest, and you’ll choose one based on your preference.
Use screws to secure the arrow rest to the bow’s riser, which is the central part of the bow. Make sure the arrow rest is aligned perfectly with the center of the bow.
This alignment is crucial because it helps your arrows leave the bow straight and true, improving your accuracy.
Step 5: Installing nocking points
Now, let’s talk about “nocking points.” These are small pieces that you put on your bowstring to show you where to place your arrow.
To install them, you need to find the best spot on your bowstring. Then, apply the adhesive-backed nocking points just above and below the arrow rest. Make sure they’re evenly spaced and aligned properly with each other.
When you do this right, it ensures that your arrows always go in the same spot, making it easier for you to shoot accurately.
In these steps, we’ve covered the initial setup of your recurve bow, making sure you have the right equipment, stringing the bow safely, adjusting the brace height, attaching the arrow rest, and installing nocking points to help you get started on your archery journey.
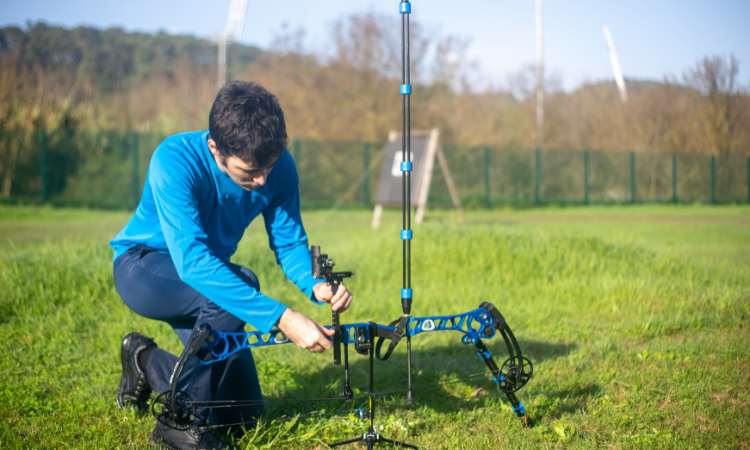
Step 6: Adjusting limb bolts
Now, let’s talk about the “limb bolts.” You can find these on the riser of your bow. Using an Allen wrench, you can tighten or loosen these bolts.
Remember, “righty-tighty, lefty-loosey.” Adjusting the limb bolts helps you control something called the draw weight of your bow. The draw weight is how hard it is to pull back the bowstring.
By getting this tension just right, you’ll have a balanced bow that makes it easier for you to shoot accurately and comfortably.
Step 7: Applying bowstring wax
Your bowstring needs a little love too! Applying some bowstring wax helps protect it from moisture and improves its performance.
You’ll want to coat the entire length of the bowstring with the wax. After that, use your fingers to rub the wax into the string.
Doing this gently and evenly will help keep your bowstring in great shape, making it last longer and perform better.
Step 8: Test shooting and fine-tuning
Now that your bow is all set up, it’s time to test it out and make sure it’s working perfectly. Find a safe place to shoot your bow.
Nock an arrow, draw the bowstring back, and release the arrow. Watch how the arrow flies. If it doesn’t go where you want it to, don’t worry. It’s normal to need a little fine-tuning.
You might need to adjust things like the brace height (that’s the space between the string and the grip), the arrow rest, or the limb tension.
Keep trying and making small adjustments until your bow shoots exactly how you want it to. Remember, practice makes perfect.
Can you paper tune a recurve bow?
You can use a method called “paper tuning” to check and adjust your recurve bow. It’s a helpful way to see if your bow is working well, but it’s not perfect.
To paper tune your bow:
- First, make sure your bow is set up correctly.
- Take a piece of newspaper or butcher paper and attach it to a picture frame.
- Shoot an arrow into the paper.
By looking at the paper, you can learn things about your arrow. For example, if the arrow tears the paper on the right side, it might mean the arrow is too weak for your bow.
If the arrow enters the target with its tail pointing to the left, you can fix it by making the arrow shorter.
So, paper tuning is a useful way to improve your bow’s performance, but remember, there are other factors to consider when tuning your recurve bow too.
Conclusion
Congratulations. You’ve unlocked the secrets to setting up a recurve bow like a pro.
Picture yourself drawing the bowstring, feeling the surge of power as you release the arrow with precision. With each step meticulously executed, you’ve built a solid foundation for success.
But remember, time waits for no one. Don’t let hesitation or doubt rob you of this incredible experience.
Reference:
https://www.youtube.com/watch?v=mKfdr4mBkIo
https://www.wikihow.com/Set-Up-a-Recurve-Bow#References
https://worldarchery.org/news/146234/archery-101-how-tie-nocking-point

General Manager & Auditorial Head.
Killian Jake is a World Sports Traveler and hobbyist sports lover. By exploring different sorts of playing modules like indoor, outdoor, and many more. As for professionalism and writing, it’s helpful to give you the right suggestions on different games and sports.


")