
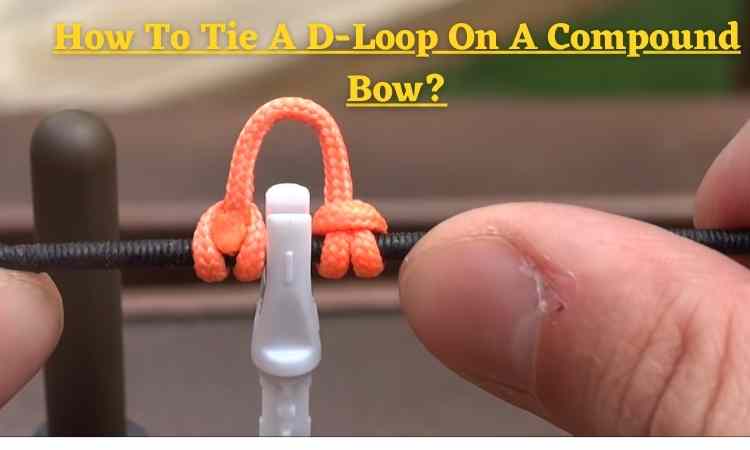
To tie a D-loop on a compound bow, follow these steps:
- Cut a piece of bowstring material, approximately 10 inches long.
- Fold the material in half to create a small loop.
- Insert the folded end of the material through the bowstring serving, above the nocking point.
- Pass the loose ends of the material through the loop.
- Pull the loose ends tight to secure the D-loop in place.
To know the details of this process with step image, be with us-
In this tutorial, I will walk you through the steps of tying a D-loop on a compound bow.
By the end of this tutorial, you should be able to confidently tie a D-loop on your own compound bow.
How To Tie A D-Loop On A Compound Bow (With Step)
Overview:
- Gather materials
- Prepare the bowstring and D-loop material
- Tie the D-loop
- Test the D-loop
#1 Materials Needed
Obviulsty, its possible to make a d-loop without any special tool or accessories.
But the least things needs are to tie a D-loop on a compound bow are following materials:
- Compound bow
- D-loop material (such as a D-loop cord or D-loop rope)
- D-loop tool (optional )
- Scissors
- Lighter or matches
You can purchase D-loop material and D-loop tools at most archery stores or online retailers.
If you don’t have a D-loop tool, you can use a pair of pliers or a small clamp to hold the D-loop material in place while you tie it.
However I will suggest to do this easy process no need extra thing at all.
#2 Preparation
Before you begin tying the D-loop, it is important to properly prepare the bowstring and D-loop material.
This will help ensure that the D-loop is tied securely and will not come loose during shooting.
To prepare the bowstring:
- Inspect the bowstring for any frays or damaged areas. If you find any, use a bowstring wax or conditioner to smooth out the frays and protect the string from further wear.
- Clean the bowstring with a soft cloth or brush to remove any dirt or debris that might interfere with the D-loop tying process.
To prepare the D-loop material:
Measure out a length of D-loop material that is long enough to make a loop around the bowstring and have a few inches of excess on either end.
The exact length will depend on the size of your bowstring and your personal preference, but a good starting point is about 10 inches.
If you are using a D-loop cord, you will need to attach the cord to the D-loop tool (if you are using one) before you begin tying.
To do this, hold the cord in one hand and the D-loop tool in the other hand.
Place the cord in the jaws of the D-loop tool and squeeze the handles together to clamp the cord in place.
Step-by-Step Instructions With Image:
Now that you have gathered your materials and prepared the bowstring and D-loop material, it’s time to start tying the D-loop.
Follow these steps to tie a D-loop on your compound bow.
Hold the bowstring in one hand and the D-loop material in the other hand (or use the D-loop tool to hold the D-loop material if you are using one).
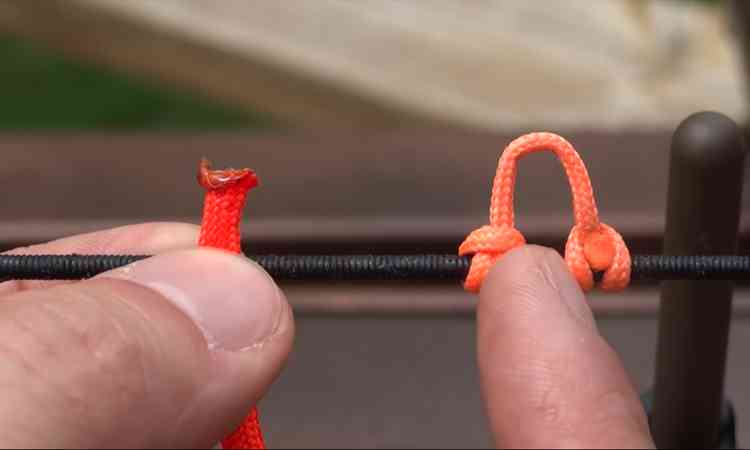
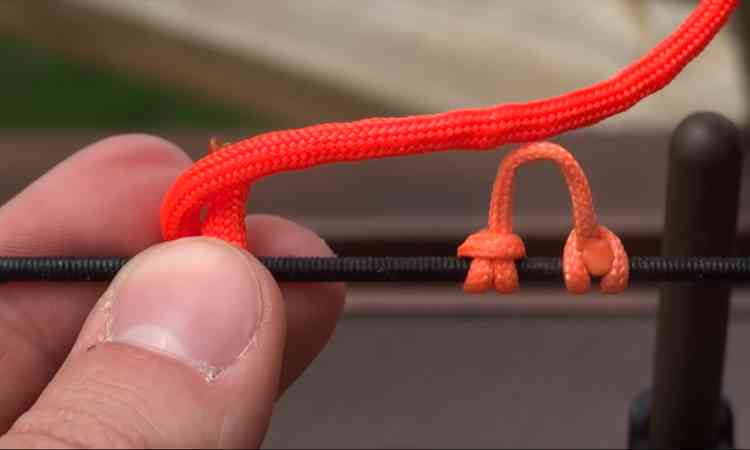
Place the D-loop material around the bowstring so that the ends are roughly equal in length.
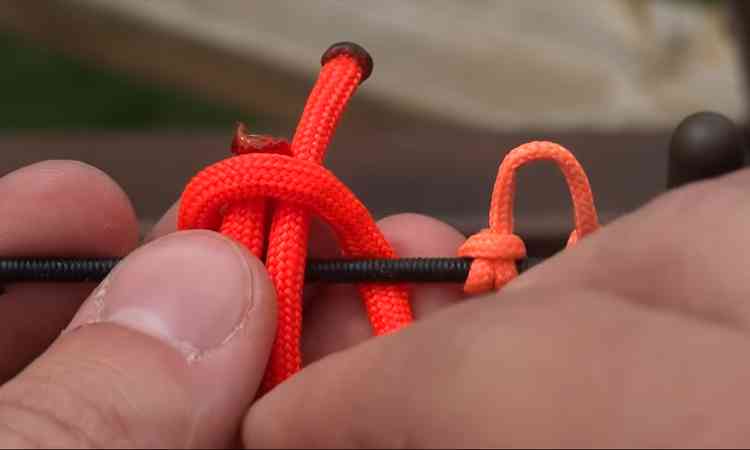
Cross the ends of the D-loop material over each other to form a “X” shape.
Tie a simple knot with the crossed-over ends of the D-loop material, using a knot of your choice such as a square knot or double fisherman’s knot.
You can refer to illustrations or online tutorials for guidance on how to tie these knots.
pull the knot tight, making sure that the D-loop material is evenly distributed around the bowstring.
Trim the excess material from the ends of the D-loop, leaving about 1/4 inch of excess.
If you are using a D-loop cord, you will need to melt the ends of the cord to prevent them from fraying.
To do this, hold the ends of the cord with a pair of pliers or a clamp and carefully pass them through the flame of a lighter or match until the ends are melted and sealed.
Be careful not to burn yourself or damage the bowstring.

Attach the D-loop to the release aid of your choice.
There are many different types of release aids available, each with its own method of attachment.
Troubleshooting
If you encounter any problems while tying the D-loop, here are some possible solutions:
clear nail polish to seal the ends of the D-loop material.ChatGPT
| Problem | Solution |
|---|---|
| D-loop is too loose or slips off the bowstring | 1. Tie the knot tighter by pulling the loose ends of the material firmly. |
| 2. Try using a different knot, such as a double fisherman’s knot or a constrictor knot, known for their strength and security. | |
| D-loop is too tight or difficult to attach to the release aid | 1. Adjust the length of the D-loop material. Experiment with using a longer or shorter length to find the optimal fit for your release aid. |
| D-loop material frays or unravels after shooting | 1. Apply a sealant to the ends of the D-loop material to prevent further fraying. |
| 2. Use a product like fray check or clear nail polish to seal the ends of the D-loop material. |
Why Tie A D-Loop On A Compound Bow Important?
There are several reasons why tying a D-loop on a compound bow is important:
Improved accuracy:
A D-loop allows you to attach the bowstring to the release aid in a consistent and smooth manner, which can help improve your accuracy and consistency when shooting.
Increased comfort:
Using a D-loop can make it easier to hold the bowstring back for longer periods of time, as it allows you to use a release aid rather than your fingers to hold the string.
This can reduce fatigue and increase your overall comfort while shooting.
Greater control:
A D-loop allows you to have greater control over the release of the bowstring, which can be especially helpful for inexperienced shooters or those with weaker fingers.
Enhanced safety:
By using a release aid with a D-loop, you can reduce the risk of injury to your fingers, as the release aid takes over the job of holding the bowstring. T
his can be especially important for those who shoot frequently or are concerned about the long-term impact of holding the bowstring on their fingers.
Conclusion
If you’re done so, with maintinaing the step by step process, I think it will not any tricky task to do.
If you have done this let us know-
For more information on maintaining and repairing compound bows, check out these additional resources:

General Manager & Auditorial Head.
Killian Jake is a World Sports Traveler and hobbyist sports lover. By exploring different sorts of playing modules like indoor, outdoor, and many more. As for professionalism and writing, it’s helpful to give you the right suggestions on different games and sports.
")

")
