
Archery, a sport centered around precision and accuracy, hinges upon the fundamental principle of a well-tuned bow. For archers, whether seasoned or just starting, the significance of tuning their equipment cannot be overstated. Without this crucial step, the pursuit of hitting targets with precision becomes an uphill battle.
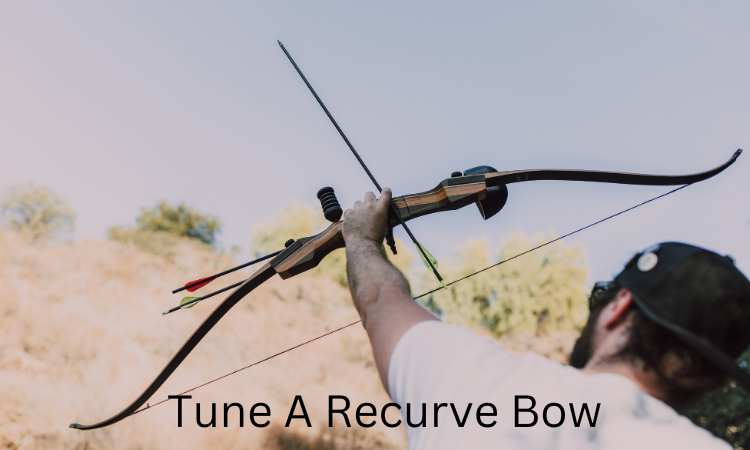
Now, if you find yourself drawn to the elegance and tradition of recurve bows, you might be pondering a question: “How do I go about tuning a recurve bow?”
In the world of archery, where every arrow’s trajectory counts, finding the answer to this question is the first step towards achieving your optimal performance.
It involves adjusting various components of the bow to make sure it shoots straight and true.
In this article, we’ll provide a step-by-step guide on how to tune a recurve bow and provide additional tips for fine-tuning.
What tools and equipment are necessary for the task at hand?
Before you start tuning your recurve bow, it’s important to have all of the necessary tools and equipment on hand.
This will make the process much smoother and more efficient. Here’s a list of items you’ll need:
- Allen Wrench Set
- Bow Square or T-square
- Brass Nocking Points
- Range Finder
- Twisted Bowstring
- Arrow Rest Plunger
- Fletching Jig
- Bowstring Serving Kit
- Bow Square or T-square
How To Tune A Recurve Bow? (Effective Method)
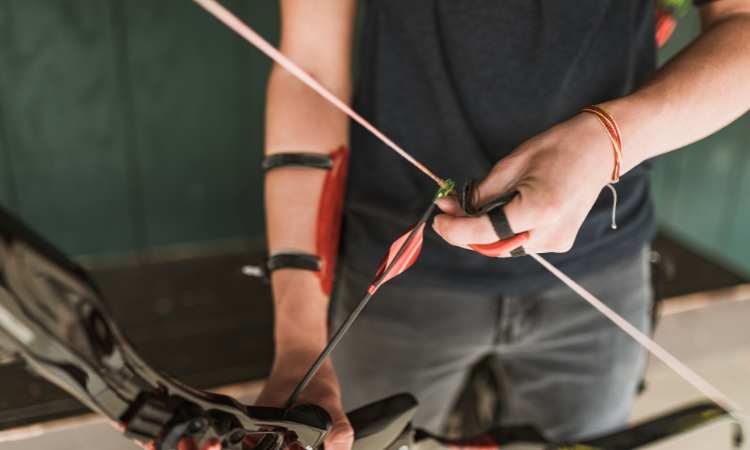
Step 1: Establishing the Nocking Point
The nocking point is a critical component in tuning your recurve bow and arrow. It’s the spot where you consistently place your arrow before each shot.
To determine this spot accurately, you can use a brass nocking point, which can be crimped onto the bowstring or tied in place.
For precision, you’ll need a measuring tool like a ‘bow square’ or ‘T-square.’ Lay the square flat on the arrow rest, and observe where the square meets the bowstring.
The point where they intersect is your initial reference.
However, the key to this step is to be gentle. Don’t overtighten the nocking point. It should be secured just enough to keep the square stable at that location.
Typically, it’s positioned about half an inch above the intersection point between the T-square and the bowstring. Finding the right balance here is crucial to your bow’s performance.
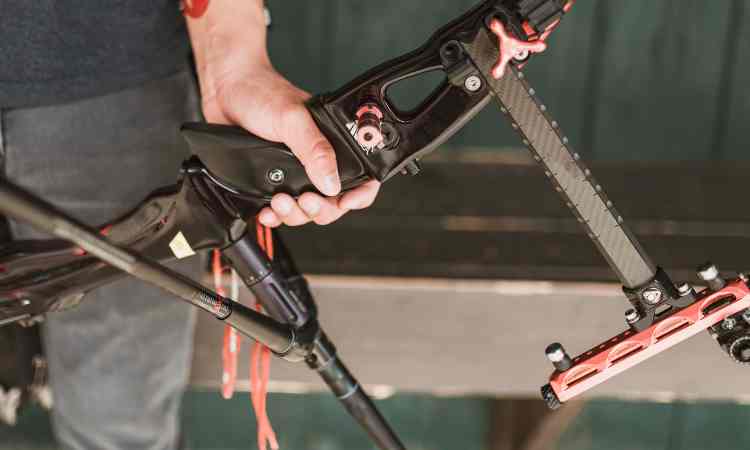
Step 2: Fine-Tuning Brace Height
Brace height is the distance between the bowstring and the riser when the bow is at rest. It’s a critical factor affecting a recurve bow’s performance, including its noise level and accuracy.
To fine-tune your bow, you’ll need to adjust its brace height.
This adjustment involves twisting or untwisting the bowstring to achieve the desired brace height. More twists in the string result in a higher brace height, while fewer twists reduce it.
However, this task can be quite intricate and requires patience.
Getting the brace height right is essential because too short a brace height can cause the fletching to touch the bow shelf, leading to accuracy issues.
Conversely, too long a brace height can make your shots slower and weaker.
Finding the perfect balance for your bow’s brace height is crucial, so take your time with this step. You can calculate the bow’s brace height by clicking here.
Step 3: Perfecting Arrow Alignment
Centering your arrows is essential for accurate shooting. To understand this, you should know about the archer’s paradox. When an arrow is released, it flexes around the riser while also flexing toward the target, creating a paradox.
To compensate for this paradox and ensure your arrows fly straight, you’ll need to adjust the arrow rest plunger.
Calibrate it outward toward the bowstring’s point. When making these adjustments, aim for a perfect offset of about 1/16 to 1/8 inches.
By entering your arrows in this way, you reduce the chances of them veering off course due to the archer’s paradox, leading to more accurate and consistent shots.
This step helps fine-tune your recurve bow’s performance, enhancing your archery experience.
Center Shot Adjustment
The center shot refers to the alignment of the arrow rest and the bowstring. It’s important to adjust the center shot correctly to ensure that the arrow flies straight and true.
To measure the center shot, use a bow square to mark the center of the bowstring and the center of the arrow rest.
The distance between the two marks should be equal on both sides.
To adjust the center shot, move the arrow to rest left or right until the distance between the marks is equal. Make small adjustments and re-measure until the center shot is correct.
Tuning Arrows
Once you’ve adjusted the bow, it’s important to tune your arrows.
Arrow tuning involves finding the correct spine, or stiffness, for your arrows and adjusting their length and point weight to achieve optimal performance.
To find the correct spine, you’ll need to use a bow scale to measure your draw weight and an arrow spine chart to determine the correct spine for your bow’s draw weight and arrow length.
Once you’ve found the correct spine, you’ll need to adjust the length and point weight of your arrows.
Use an arrow saw to cut the arrows to the correct length, then weigh the points to ensure that they’re the correct weight.
Make small adjustments and test each arrow until they all fly straight and true.
READ: HOW TO SET UP A RECURVE BOW?
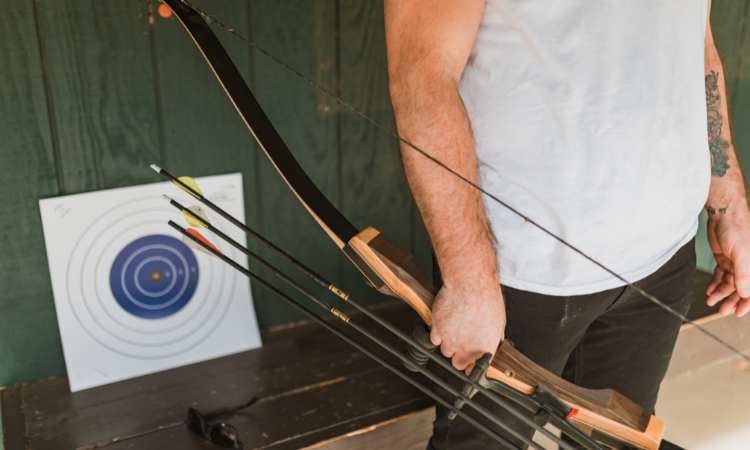
Final checks and testing:
Once you’ve made all of the necessary adjustments to your recurve bow, it’s important to test its performance to ensure that everything is working properly.
Follow these steps to finalize your tuning process:
- Test the bow by shooting a few arrows: Observe the arrow flight and make any necessary final adjustments.
- Re-wax the string: After testing the bow, apply another layer of string wax to lubricate and protect the string.
- Clean the bow: Using a soft cloth, gently clean any dirt or debris from the bow.
What is the best nocking point for a recurve?
Determining the optimal nocking point for a recurve bow involves considering several factors, including the archer’s shooting style and arrow size.
Here are professional insights and guidelines for establishing the ideal nocking point on a recurve bow:
Barebow Archers:
For barebow archers, a starting point is a nocking point positioned approximately half an inch above a perfectly horizontal orientation.
In the case of using a drop-away rest, it’s recommended to begin with a nocking point that’s just 1/8 inch above horizontal.
Olympic Recurve and Traditional Archers:
Olympic recurve and traditional archers typically find success with a nocking point set at around 3/8 inches above horizontal.
Most Recurves and Longbows:
For the majority of recurve and longbow setups, the sweet spot lies in a nock set that hovers between perfectly level and half an inch above horizontal.
Three-Finger Undershooters:
Archers using a three-finger under-shooting technique may want to consider positioning their nocking point about 1/8 inch higher than the aforementioned half-inch off-center position.
This slight adjustment can help optimize arrow flight and accuracy.
To install the nocking point, carefully position it to align approximately half an inch above the horizontal reference point.
Many times, if you purchase a recurve bow, it comes with a pre-installed nocking point.
However, if you are assembling your own recurve bow setup, you may need to install the nocking point yourself.
In such cases, ensure precision and accuracy in its placement to enhance your shooting performance.
Can You Do Paper Testing on the Bow?
Paper tuning is a method of testing and adjusting a recurve bow’s performance by observing the flight of an arrow through a piece of paper.
This process allows archers to fine-tune their bows and achieve the highest level of accuracy possible.
To paper-tune a bow, you’ll need a paper-tuning rack and a special tuning arrow. The paper tuning rack consists of a frame with a piece of paper stretched across it, and the tuning arrow has a small vane attached to the shaft that allows it to cut through the paper as it passes through.
To begin the paper tuning process, set up the paper tuning rack and shoot the tuning arrow through the paper.
Observe the way the arrow cuts through the paper and look for any imperfections or deviations in its flight.
Also Like: How to Choose the Perfect Size Recurve Bow?
These imperfections can indicate issues with the bow’s tiller, string height, or nocking points, and can be corrected through adjustments to these components.
Paper tuning is a highly precise and detailed process that requires patience and attention to detail.
It’s not uncommon for archers to go through several rounds of paper tuning before achieving the desired results.
However, the end result is a perfectly tuned bow that delivers maximum accuracy and performance.
If you’re serious about improving your archery skills and achieving the highest level of accuracy possible, paper tuning is a valuable tool to have in your arsenal.
It may take some time and effort, but the results are well worth it.
Do recurve bows need tuning?
Recurve bows do need tuning to work their best. Tuning helps make sure your arrows go where you want them to. When your bow is tuned, you can feel confident about hitting your target.
It’s a good idea to tune your bow every three to six months. Also, make sure all the parts you use, like the stabilizers, bow sights, string, and quiver, are set up correctly.
If you add new things to your bow or want to change how hard it is to pull, you might need to make tuning adjustments.
If you want it to be harder to pull, turn the bolt one way, and if you want it to be easier, turn it the other way. Tuning your bow helps you become a better archer and hit your target more often.
Conclusion:
Properly tuning a recurve bow is essential for optimal performance and accuracy. By following the steps outlined in this article, you can ensure that your bow is properly tuned and ready to deliver reliable performance.
Remember to regularly check and adjust your bow’s tuning for the best possible performance.

General Manager & Auditorial Head.
Killian Jake is a World Sports Traveler and hobbyist sports lover. By exploring different sorts of playing modules like indoor, outdoor, and many more. As for professionalism and writing, it’s helpful to give you the right suggestions on different games and sports.
")


