
Making a crossbow target can be an interesting and challenging project for many people. It is also a great way to spend time with your children, as it is something that they will enjoy doing while learning about crafting. If you are ready to start making a crossbow target now, keep reading!
A crossbow target can be made using a few simple supplies and tools. All you need is an old piece of plywood, a box cutter, some nails, screws, and sandpaper. This blog post will walk you through the step-by-step process of how to make your own crossbow target at home!
What equipment should you need?
The most important part of making a target is choosing the right materials and making sure you have enough. You’ll need:
- A piece of plywood or particleboard that’s at least 2’x4′.
- Two pieces of wood for legs, about 4″x8″.
- One 3/4″-thick wooden dowel, cut to 12″ in length.
- A box of 1/2″ nails.
- A box of 1 1/2″ nails.
How to make a crossbow target? A step-by-step guide?
To make a crossbow target, you’ll need a few simple supplies and tools. All you need is an old piece of plywood, a box cutter, some nails, screws, and sandpaper. This blog post will walk you through the step-by-step process of how to make your own crossbow target at home
Choose Your Material
The first thing that needs to be decided on when making a crossbow target is what material it should be made out of? You can choose any kind as long as it’s sturdy enough not to break easily from something like an arrow. But since this type of use wears down wood quickly we recommend using particleboard or another form of heavy-duty cardboard instead.
Gather materials
The materials you need for making the crossbow target is the piece of plywood or particleboard that’s at least two feet by four feet, the two pieces of wood for legs which are about four inches by eight inches each, one wooden dowel cut to twelve inches in length and a box of nails.
Measure out your materials
The first thing you need to do is measure all of the material before starting on cutting them down. Measure the surface you’ll be working with as well as both boards for legs. You should also measure your dowel or thick stick so it can fit through holes that will later be drilled into it.
Once everything is measured up, go ahead and make sure they’re actually square using a carpenter’s square if necessary. This ensures every side has 90-degree angles
Related: How should you hold a bow when shooting?
Cut the pieces to size
After measuring the cut piece of wooden pallet then the next step is to get out the saw and cut them to size. Remember that your crossbow will be shooting horizontally, so you’ll need to measure from the bottom edge of a board down 12″ in order for it to fit properly into place when they’re nailed together as legs.
Keep cutting until this is done with all four boards. Then set these aside for now. Next, pick two longboards that should already have been measured at eight inches by four inches on each side.
Square off the leg joints,
This next step still must be taken before making any cuts on either end because it’s important not to make mistakes or gaps larger than necessary later on once everything is assembled. You want perfect 90-degree angles here too.
How to cut materials for making the frame of an archery target?
This next step still must be taken before making any cuts on either end because it’s important not to make mistakes or gaps larger than necessary later on once everything is assembled. You want perfect 90-degree angles here too.
The most straightforward way to do this would be with a circular saw, but since there are no cuts in the top and bottom faces of our legs yet we have an opportunity to use a jigsaw instead if preferred.
A jigsaw will provide more control when cutting curves such as these, so let’s go ahead and start out by outlining all four corner pieces first using that tool. Just like you always did at home!
Assemble the target frame.
Now, after cutting the desired size, the next step is to assemble the target frame with the corner pieces.
For this step, it’s important to make sure all of the panels are lined up so that they’re square with each other and then fasten them together using small nails or screws in order to form a rectangle shape on top of your legs.
Then use some thick wire or strong twine threaded through holes drilled into the outside corners for reinforcement, wrap around the whole target frame just like you would with any box at home!
It is also recommended to attach two diagonal wires going from one side to another as well because these will provide extra stability when shooting arrows against it.
The next step is optional but can be done if desired – take an old piece of fabric (or even saran wrap) and cut four pieces to settle down.
Attach a string and arrow holder to the back of the frame.
Now it’s time to attach a string and arrow holder to the back of the frame to use for a moment, you can use the drill to make holes in both of your end pieces.
Then take two large screws and some washers (or nuts) and screw them through these pairs of holes on each end piece.
Take care not to over-tighten!
Lastly, place one or more rubber bands around the frame so that it doesn’t move as easily when shooting arrows against it. This is optional but recommended if possible.
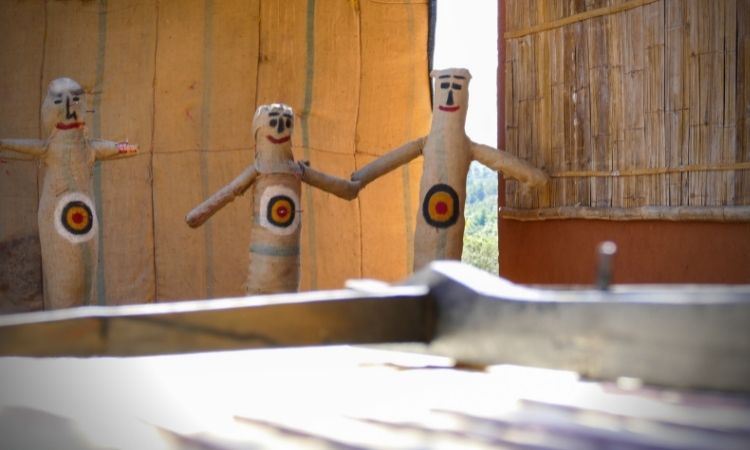
Paint or decorate your finished product!
After doing all right, the next decorative work is to paint on the target or decorate it.
For painting and finishing the products, it is good to use acrylic paint or any other water-based paints.
You can also buy and apply decals, stickers, stencils, markers, or anything else you want to make your target more personal and perfect!
It is recommended that if possible you cover the surface with a protective coating like polyurethane after painting
That’s all there is to making a crossbow target – now go have fun practicing with your new toy.
Check Also: 8 Archery Tips For Beginners: Learn, Practice, and Shoot Better?
How can I practice archery at home?
To practice archery, you must first have a target. If you have one, then great! If you don’t, then here we were given the ideas for how to make a target.
However, to practice with archery at home, the maintenance of an archery target, as well as the setup of the target, is crucial for practicing.
If you want to practice archery at home, then it is highly recommended that you have a backstop behind your target – this means something solid or thick (like concrete) with which arrows can bounce off and not hurt people in close proximity.
How do I maintain my crossbow?
You should always clean and oil any part of your crossbow after use. Not just the string but also all grips and pegs on your weapon as well! This will extend its life by years. Be sure to store these items properly so they don’t get wet or dirty during non-uAse periods too!
To maintain the archery target, there are several tips you can follow. But first of all, you should purchase a good quality bow and arrow.
A crossbow is a bow-mounted horizontally on a stock. The bow is drawn by means of two strings with one end attached to the crossbow and the other held in hand or pulled back using an elastic cord or lever known as a cocking device. Deciding on all information it’s quite easy to maintain the crossbow.
Is it worth for homemade crossbow target?
Off course. As like professional crossbow target that usually buys from the market do the same job as a general one. So you don’t need to tense about the mechanism of the handmade or DIY crossbow target.
You just need to confirm the safety and no harm to your kids.
You need to have a few things in mind like the safety with which you should be able not only for yourself but even more importantly, for your children around and those who are shooting arrows at it.
Good idea is that before going out in search of materials or equipment, make sure that all members of the family know what they’re doing and where not to stand when someone else shoots an arrow at the target.
The last thing anyone would want from this activity is for one person to get hurt by another! And adults can teach kids how dangerous crossbows can be if mishandled.
So considering all the forms, you can make a crossbow target at your own choice.
Conclusion:
In this blog post, we’ve covered the basics of how to make a crossbow target. We hope that by reading and following our instructions you will be able to create your own DIY project for an excellent new hobby. If you have any questions about what was discussed or need help with something else related to archery, please feel free to question us.

General Manager & Auditorial Head.
Killian Jake is a World Sports Traveler and hobbyist sports lover. By exploring different sorts of playing modules like indoor, outdoor, and many more. As for professionalism and writing, it’s helpful to give you the right suggestions on different games and sports.
")

")
